
You're standing on the porch looking at a fiberglass entry door that's gone dull, chalky, or just plain wrong for the house now. Maybe the color faded in the Texas sun, maybe the bottom edge looks tired, or maybe you're wondering whether a repaint will hold or peel off by next season. A good refinish can absolutely bring it back, but only if the prep matches the door's surface, finish, and exposure.
Table of Contents
- Why a Faded Fiberglass Door Is Worth Painting
- What Makes Fiberglass Different From Wood
- Identify Your Door Before You Touch a Brush
- Prep Work That Prevents Peeling
- Choosing the Right Primer and Paint
- Painting Technique for a Lasting Finish
- Curing, Care, and Common Mistakes to Avoid
Why a Faded Fiberglass Door Is Worth Painting
A weathered fiberglass door is one of those details people stop seeing every day until it starts dragging down the whole front elevation. The color turns flat, the sheen gets patchy, and the edges begin to show the truth of years spent in sun, rain, and routine use. That's usually when homeowners start weighing a repaint against full replacement, especially if the slab is still structurally sound but looks tired.
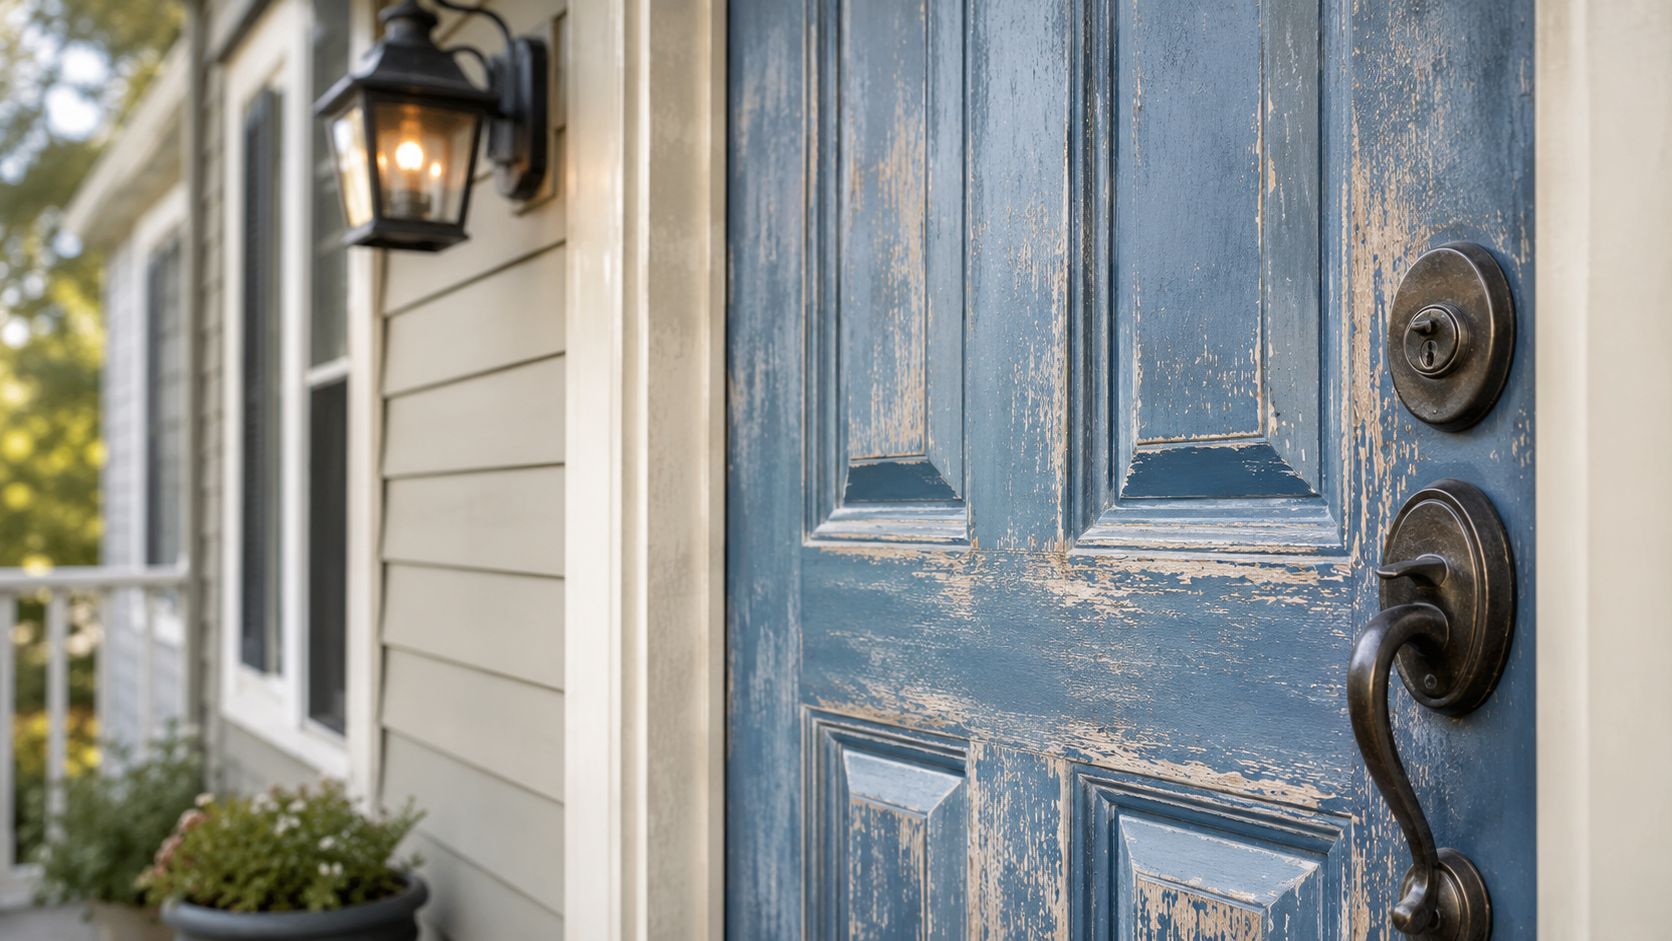
The short answer is that painting fiberglass is worth it when the door is still solid, the factory surface hasn't failed everywhere, and the frame and hardware are serviceable. If the door itself is warped, cracked, or the finish has broken down beyond recovery, replacement starts to make more sense, and that's where a full door change can be the cleaner move, like the kind of work covered in fiberglass door replacement options.
Practical rule: if the door is only ugly, paint it. If the slab is damaged or the finish is failing in layers, stop and evaluate replacement.
A repaint also gives you control over style in a way that replacement doesn't always match. You can shift from dated brown to a cleaner neutral, freshen a sun-faded finish, or bring consistency to trim and sidelights without changing the whole entry system. That matters in hot climates, where the door faces daily UV, summer storms, and constant expansion and contraction.
What follows is the part most guides skip. The payoff isn't just a better color, it's a finish that stands up to weather and use because the prep, primer, and coat count are matched to fiberglass rather than borrowed from a wood-door tutorial.
What Makes Fiberglass Different From Wood
Fiberglass may look like an ordinary paint job from the curb, but it does not behave like wood once the brush touches it. Wood gives coatings something to soak into. Fiberglass is smoother and less porous, so the finish depends on clean substrate conditions, light surface profiling, and primer compatibility instead of absorption alone, as noted in this fiberglass door painting guide.
Why adhesion matters more here
That surface difference changes the whole job. On wood, paint can bite into fibers and grain. On fiberglass, the coating sits on top unless you create tooth with light abrasion and choose a primer that bonds to the existing finish.
A heavy coat does not fix poor prep on fiberglass. It only gives you a thicker failure layer.
That is why the guidance keeps coming back to cleaning, light sanding or scuffing, and primer selection. A finish can look fine on day one and still fail early if residue, gloss, or incompatible materials block adhesion. The first signs usually show up as edge wear, dull patches, early peeling, or a blotchy sheen that never levels out.
Why texture changes the answer
The grained-versus-smooth question matters because the prep method is not the same. A grained door needs a different touch than a smooth one, since the raised texture has to stay intact while the coating still gets something to hold onto. Treat both the same and you risk either damaging the factory pattern or leaving the surface too slick for the primer to grab.
If you have ever searched for a generic answer and found three conflicting recommendations, this is why. Fiberglass is not one material with one prep method. It is a finish system, and the surface in front of you decides what works.
For a practical look at how these choices affect a real entry system, see our fiberglass entry doors page.

Identify Your Door Before You Touch a Brush
Start by looking at the door in natural light, then run a hand over it. A smooth fiberglass door feels more like a sealed panel with no visible fake grain, while a wood-grain fiberglass door has raised texture meant to mimic wood. That single distinction changes whether you sand aggressively, scuff lightly, or avoid sanding the grain entirely.
Check the surface, not just the color
A door that was factory-stained, factory-finished, or painted before usually tells you a lot at the edges. Look at the bottom rail, the latch side, and the top rail, because those are the places that show moisture and wear first. If the old finish is chalky, lifting, or flakes when you press a fingernail into it, you're not dealing with a simple color update, you're dealing with a refinish.
For wood-grain fiberglass doors, manufacturer guidance can be very direct. One guide says do not sand grained fiberglass, and instead points you toward cleaning, priming all six sides, and painting all six sides. That advice is the opposite of what many DIY articles tell you, which is why starting with the texture check matters so much.
Make the right prep choice
Use this simple rule of thumb. If the door is smooth, light abrasion is usually part of the job. If the door has a grained texture you want to preserve, stop before sanding the detail away and follow the manufacturer's surface-specific method. If the finish is already failing, assume you'll need more prep than a fresh factory panel.
Decision point: paint the door you actually have, not the one a generic tutorial assumes you have.
This is also the point where people benefit from a door-specific system, not a one-size-fits-all trim routine. For more context on matching the door style to the work plan, see fiberglass entry door options.
Prep Work That Prevents Peeling
The prep sequence decides whether the finish survives the first season of heat and rain. Start by removing the door from the hinges if you can, because that lets you work all six sides, the lock bore, and the edges that trap moisture. If the slab stays in place, take off the handles, kickplates, and weatherstripping so the coating can reach every edge without bridging over hardware.

Clean the surface with a mild detergent or a non-hydrocarbon cleaner. Solvent residue is one of the fastest ways to ruin adhesion, and the wrong cleaner can leave behind a film that primer does not bond to well. If the door was pressure-washed, keep the pressure under 2,000 psi, because excessive force can drive moisture into the substrate and set up later blistering, as noted in a fiberglass door care guide.
Dry time matters more than the calendar says
A washed door needs to be dry before primer goes on, but the key factor is the condition of the door, not the clock alone. If the slab has sat in a humid garage, under an awning, or near a shaded porch, surface moisture can linger longer than expected even when it feels dry to the touch. Several independent guides still recommend allowing 3 to 4 hours of primer dry time before the next step, and 4 to 8 hours after cleaning if the door needs to fully dry first.
Repair comes next. Fill dents or gouges with a compatible body filler, then sand the repair flush so it does not telegraph through the finish later. Mask glass, hardware, and any trim you do not want coated. The failures I see most often are simple, thick coats that sag at the edges, cleaner residue left in corners, and paint put on before the surface is fully ready. Those mistakes show up later as peeling along the stile, lifting around the lockset, or a topcoat that never lays down right.
Best practice: prep the door for adhesion first, color second.
Quick prep checklist
- Remove or loosen hardware: Handle sets, kickplates, and weatherstripping get in the way of clean edges.
- Clean with the right product: Mild detergent or a non-hydrocarbon cleaner only.
- Let it dry fully: Longer is safer than faster, especially after washing.
- Repair visible damage: Fill dents before primer, not after.
- Mask carefully: Glass and adjacent trim should stay clean.
Choosing the Right Primer and Paint
The safest product choice is usually not the flashiest one. For a fiberglass entry door, a dedicated fiberglass-compatible primer and a 100 percent acrylic exterior finish are the clean default for most homes, especially when the surface has been cleaned, scuffed, or repaired. If the door is already painted, a bonding primer often matters more than chasing a premium topcoat alone.
What pairs well with what
| Existing Finish | Recommended Primer | Finish Paint | Typical Coats |
|---|---|---|---|
| Factory smooth finish | Fiberglass-compatible bonding primer | 100 percent acrylic exterior paint | Primer plus 2 finish coats |
| Factory wood-grain finish | Primer only if the system calls for it | Exterior paint matched to the surface | 2 finish coats, sometimes 3 in lighter coverage areas |
| Repaired or patched areas | Stain-blocking or repair-area primer | Exterior paint matched to the door | Spot prime, then 2 finish coats |
| Previously painted, sound surface | Bonding primer | Acrylic exterior paint, or a durable enamel where appropriate | Primer plus 2 coats |
The core reason is durability. Multiple manufacturer guides recommend two finish coats for uniform appearance, and one guide notes that three coats may be needed in lighter coverage zones or when moving from dark to light. A separate expert guide also points to 400-grit sanding or Scotch-Brite pads for adhesion and treats priming as essential after repairs. Those aren't cosmetic preferences, they're part of how the film resists UV, scratching, and wear over time.
Acrylic or enamel
For most front doors, acrylic wins because it's easier to work with and handles exterior exposure well. A hard-drying enamel can make sense on high-touch doors where you want a tougher feel, but it still needs the same disciplined prep and a compatible primer underneath. A one-coat self-priming product is tempting, but it usually doesn't beat a separate primer plus two finish coats when you care about longevity.
Default recommendation: clean, scuff, prime if needed, then apply two thin finish coats.
If you're matching a factory color or trying to preserve a grained look, the safest move is to keep the system simple and compatible rather than experimental. That's the path most likely to hold up on a front door that gets sun all day and traffic every hour.
Painting Technique for a Lasting Finish
Thin coats beat heavy coats every time on fiberglass. The finish should go on smoothly, with long strokes that follow the grain on textured doors, and with enough control that you never leave drips pooling around panels, rails, or the latch edge. The door should be treated as a complete assembly, not just the front face.

Paint the hidden sides too
The six-side rule is the most skipped step in DIY work, and it's one of the easiest ways to avoid edge failures. Paint all six sides and the lock bore so moisture doesn't load one side of the door more than the other. That matters even more in hot, wet, or high-sun climates, where edge expansion and contraction can show up fast.
Use a brush for detail work and edges, then follow with a roller or brush finish that stays thin and even. If the door has a pronounced grain, keep the strokes aligned with that pattern so the finish looks intentional instead of smeared. Overloading the brush creates runs, and runs usually dry into ridges that catch light at the worst angle.
Recoat with patience
A practical benchmark from one manufacturer puts primer coverage at 400 to 450 square feet per gallon with a 2 to 3 hour dry time before recoating. That's useful because it tells you the film is meant to be controlled, not flooded onto the surface. Light scuff sanding between coats only makes sense after the previous coat has fully cured enough to accept it cleanly.
Before you start, keep this simple:
- Prime only if needed: Match the primer to the existing finish and repair zones.
- Apply thin coats: Heavy passes cause runs and slower drying.
- Work the edges first: Rails, stiles, and bores matter as much as the face.
- Keep strokes consistent: Follow the grain on textured doors.
- Rehang only after cure: Don't rush the door back into service.
Curing, Care, and Common Mistakes to Avoid
Fresh paint can feel dry long before it's truly ready for daily use. That gap is where a lot of fiberglass door jobs get ruined. Slamming the door, taping over the finish too soon, or reinstalling hardware before the coating settles can leave marks that never fully disappear.
The failures are easy to recognize. Peeling along the bottom rail usually points to moisture or skipped edge coverage. Blistering on sun-facing panels often points to heat, trapped moisture, or a coating stack that wasn't allowed to dry properly. Uneven sheen usually traces back to inconsistent prep or coat thickness, especially on darker colors where every roll mark shows up fast.
For maintenance, inspect the door periodically for edge wear, chalking, or small chips around the handle and threshold. Touch up small areas before they spread, and keep an eye on the bottom edge after wet weather. If the factory finish is gone across multiple faces, the repair is usually beyond a simple touch-up and closer to a full refinish cycle.
A detailed warranty discussion can help set expectations for what a properly installed and supported door system should look like over time, especially when you're comparing repair to replacement. See the company's lifetime warranty guarantee for that broader context.
Quick FAQ
Can I paint over a fiberglass door without sanding?
Usually no, unless the manufacturer's instructions for that specific door say otherwise. Light abrasion or a compatible bonding primer is what gives the coating something to grip.
Should I remove the door to paint it?
If possible, yes. Painting all six sides and the lock bore gives a more durable result and reduces edge failures.
How many coats do I need?
For most fiberglass entry doors, two finish coats is the standard starting point, with a third coat sometimes needed for lighter coverage or color change.
What causes peeling the fastest?
Dirty surface residue, skipped drying time, thick coats, and painting only the visible face instead of the whole slab.
If your fiberglass entry door needs more than a quick cosmetic refresh, Breaking Glass Co. can help you sort out whether repainting, repair, or replacement makes the most sense for your home. Visit Breaking Glass Co. to request a quote, ask about fiberglass door options, and get a plan that fits Texas weather and the way your entry gets used.